
 English
 Español
 Português
 Русский
 العربية
 Français
 Deutsch
 中文
 日本語
 한국어
How an Injection Mould Moves from Drawing to First Trial
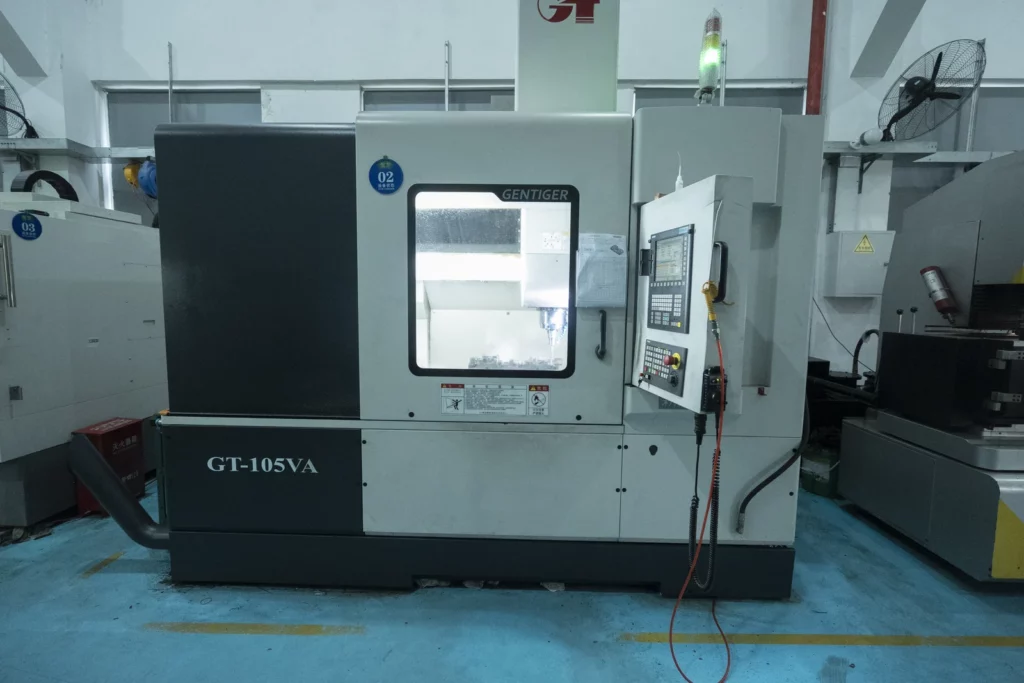
How does a part drawing become an injection mould ready for its first trial? The answer depends on the part, the mould design and the production requirements. At JingZhan, the work can bring design review, precision machining, fitting and trial moulding together. The stages below describe a typical route; their order and selection vary from project to project.
1. Review the part and plan the mould
The starting point is the customer's 2D drawing, 3D model or sample, together with the intended material, quantity and critical requirements. The engineering review considers the part's geometry, wall thickness, visible surfaces, tolerances, draft and assembly features. The team can then discuss mould structure, cavity layout, parting line, gating, cooling and ejection before detailed tooling drawings are prepared.
Early decisions matter: a surface that must be clear or glossy may need a different finishing plan from a non-visible surface. Requirements for inspection, samples and later production should also be clarified before the tool is made.
2. Prepare materials and machine the main components
After the mould design and material selections are agreed, the mould base, inserts and other components are prepared for machining. CNC milling can create reference surfaces, pockets, holes and profiles in the relevant parts. Depending on the geometry and the component, turning or other operations may also be used.
The dimensions and datum surfaces established during machining provide a basis for the operations and checks that follow. The sequence is planned around the material, part shape and required accuracy rather than a fixed list of machines.
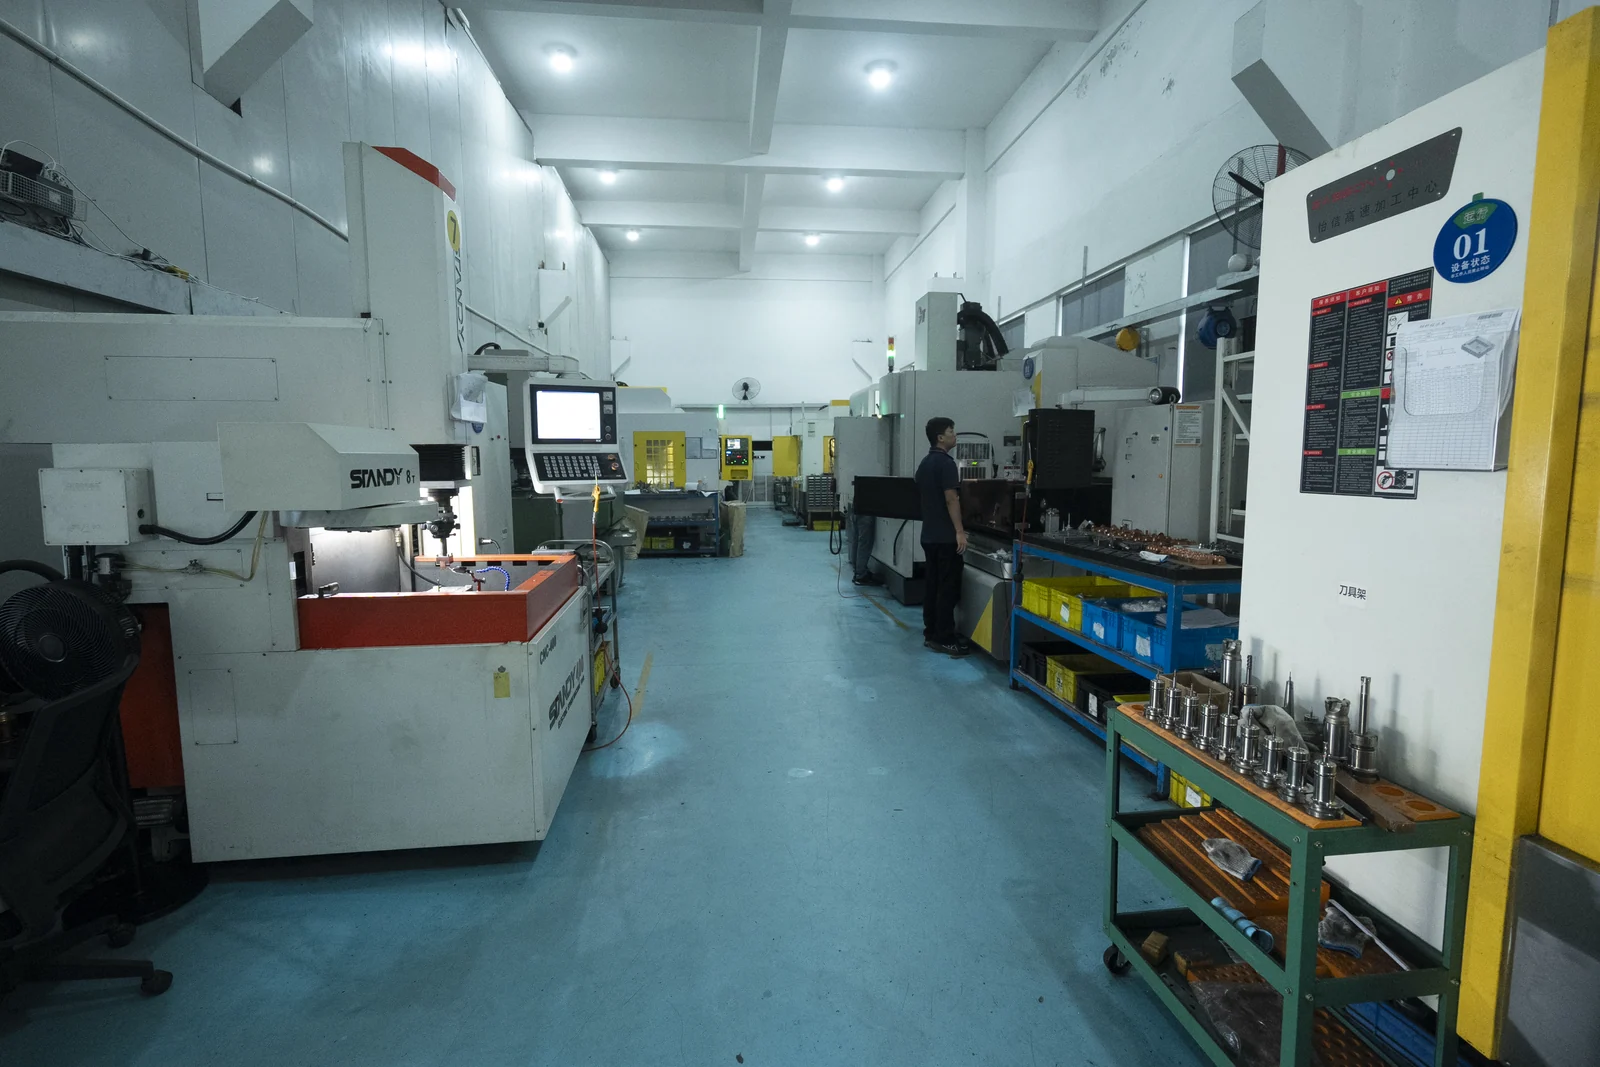
3. Use EDM and grinding where the design calls for them
Electrical discharge machining (EDM) may be chosen for details that are difficult to machine conventionally, such as selected deep features, corners or fine cavity details. Electrode design and machining allowances depend on the feature and the planned finishing process. EDM is not required on every tool.
Grinding may be used on selected components and mating surfaces when the design calls for controlled dimensions, flatness or fit. Machining and inspection are coordinated so that critical surfaces can be checked against the drawings before assembly.
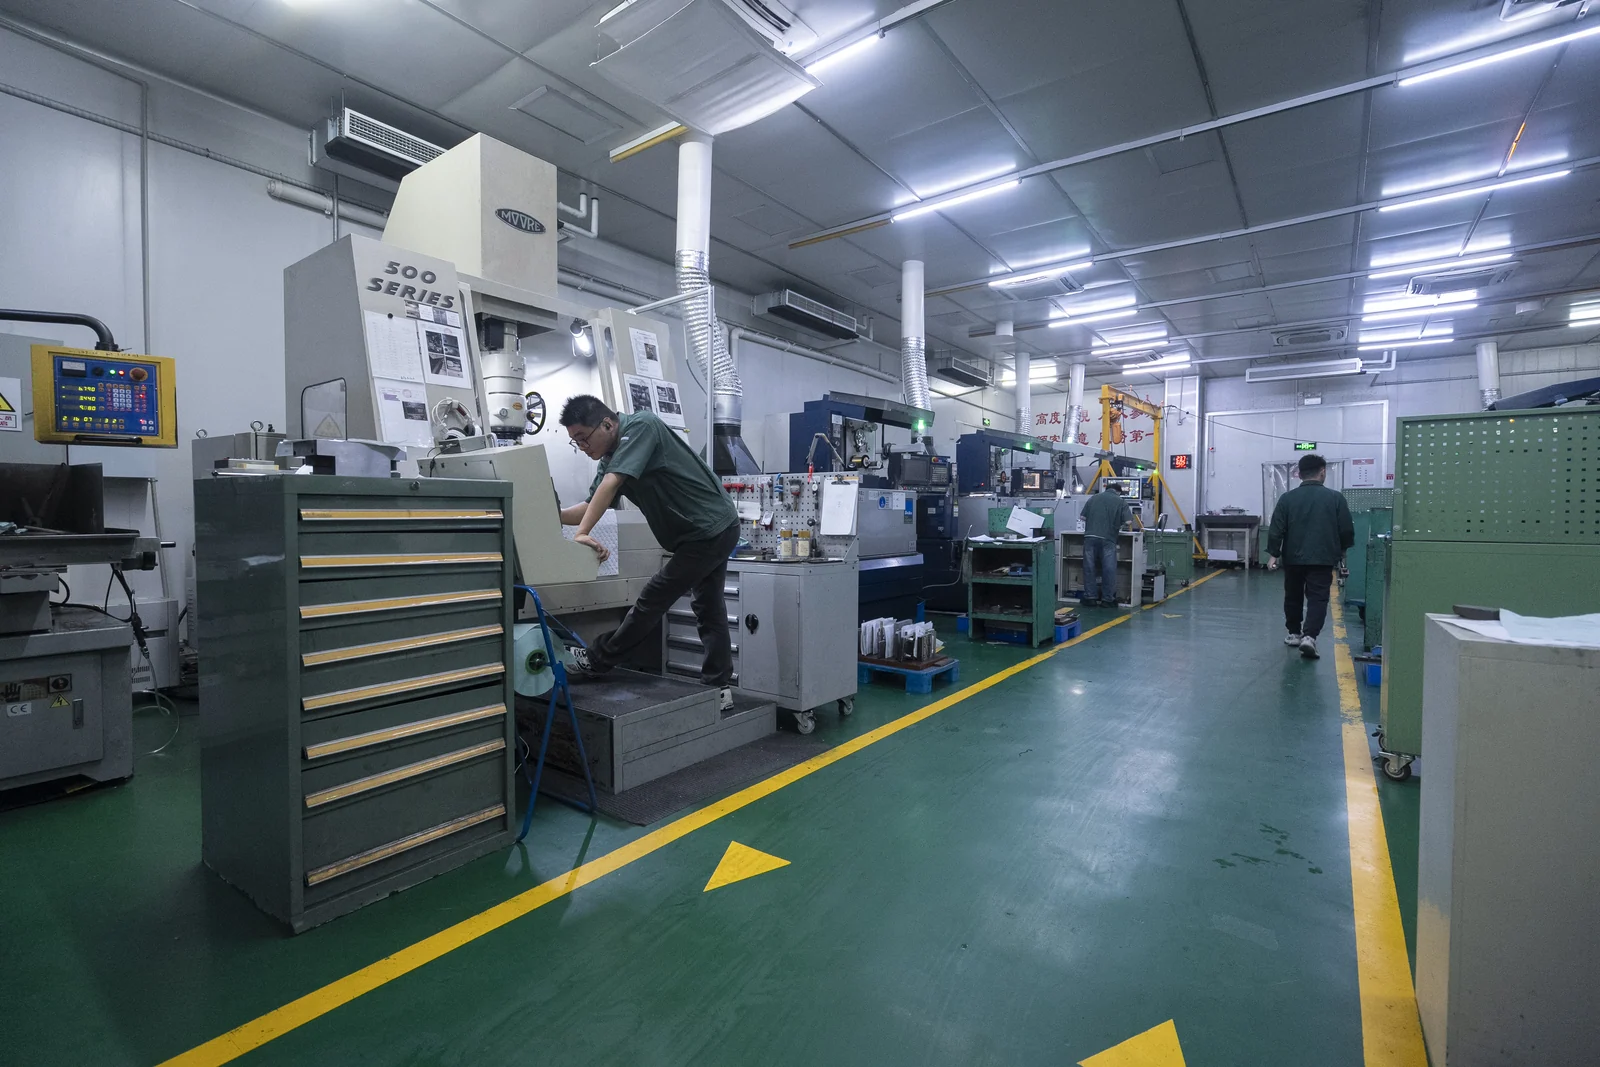
4. Fit, finish and assemble the mould
In the fitting stage, components are checked and brought together according to the mould design. Depending on the tool, this can include fitting inserts, slides, lifters, ejectors, cooling connections and other parts, followed by checks of movement and mating surfaces.
Selected cavity surfaces may be polished or otherwise finished to match the agreed appearance and functional requirements. Not every surface needs a mirror finish, and the actual finish should be agreed for each project. The team reviews the assembled tool before it moves to the moulding machine.
5. Conduct a mould trial and evaluate the samples
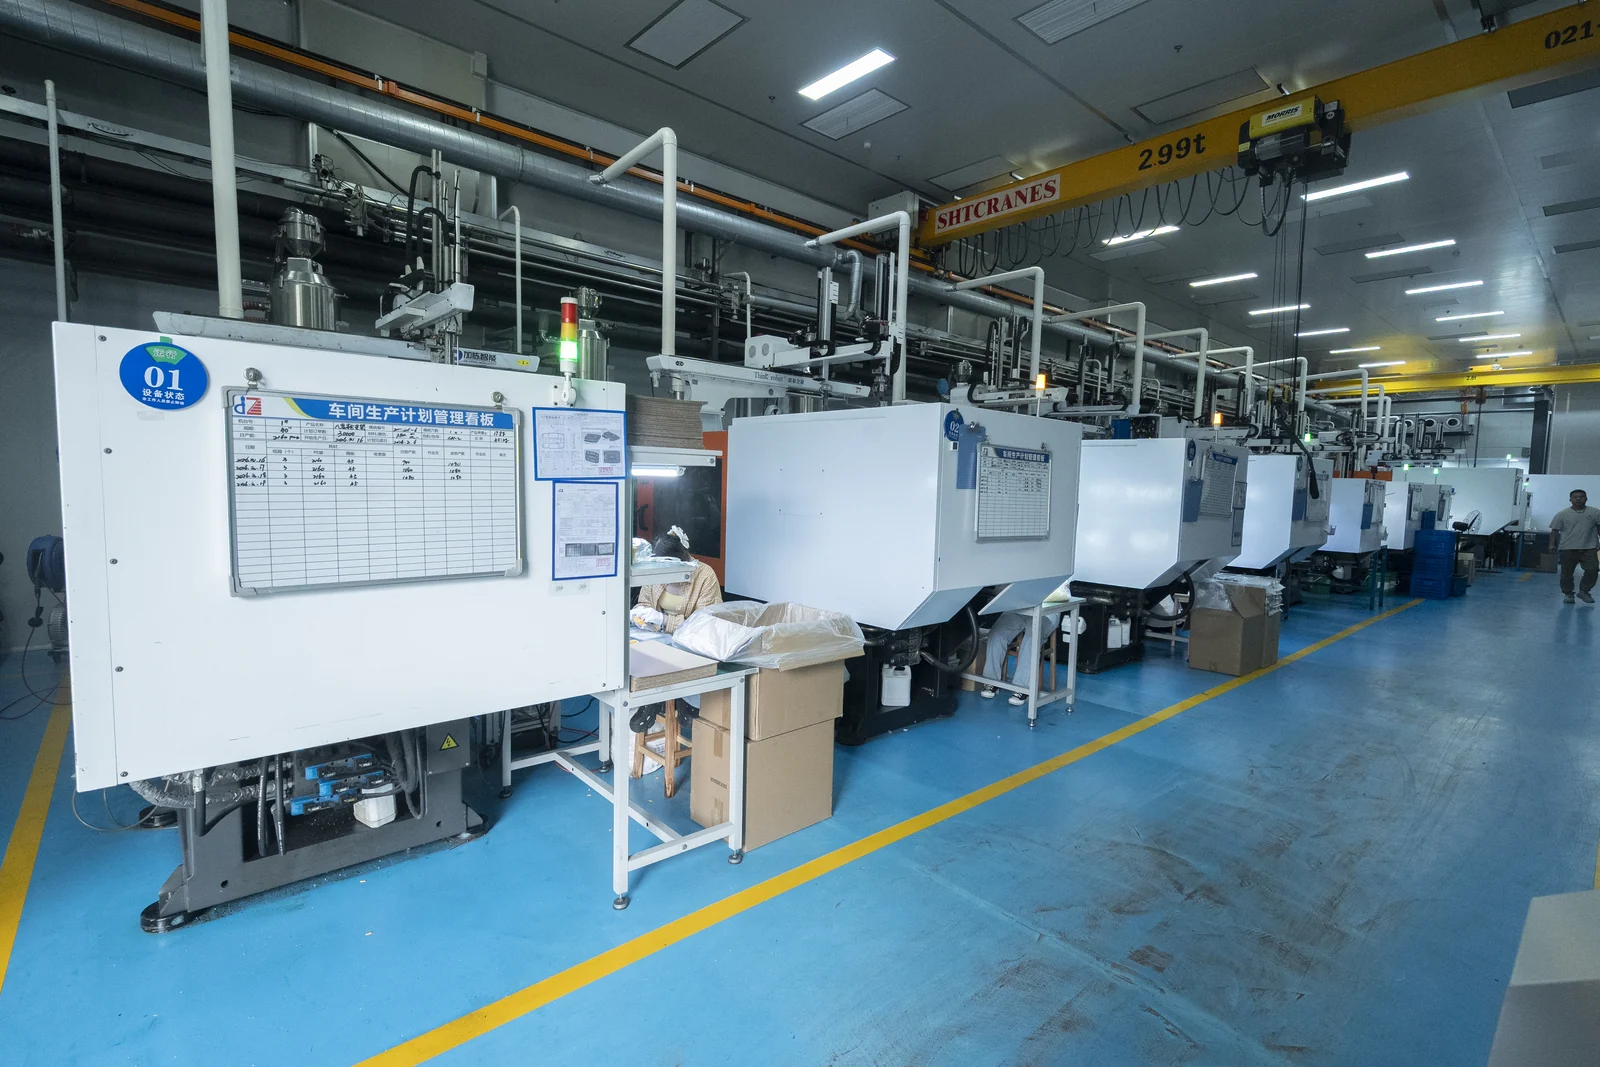
During a trial, the assembled mould is installed on a suitable injection moulding machine and sample parts are produced under selected initial conditions. The team can review filling, release, dimensions and visible defects against the agreed requirements. Depending on the results, the mould or processing conditions may need adjustment before another trial.
Sample approval and the scope of inspection are agreed with the customer. Trial results provide a basis for further optimisation and, once requirements are met, a transition towards repeat production.
What to prepare for a tooling discussion
To help the team assess a new project, share the latest drawing or STEP file, material and application, critical dimensions or appearance requirements, expected quantities and any required inspection documents. If the design is still being developed, a sample or sketch and the intended function are useful starting points.
Send your project details to yw07@jz-mould.com, contact us on WhatsApp, or read our guide to prototyping, tooling and quotation.
Let’s Build Precision Moulds Together
Upload your CAD files or share your product specifications. Our engineering team will respond with a detailed quotation within 24 hours.