
 English
 Español
 Português
 Русский
 العربية
 Français
 Deutsch
 中文
 日本語
 한국어
How to Specify Cosmetic Surfaces for Injection Moulded Parts
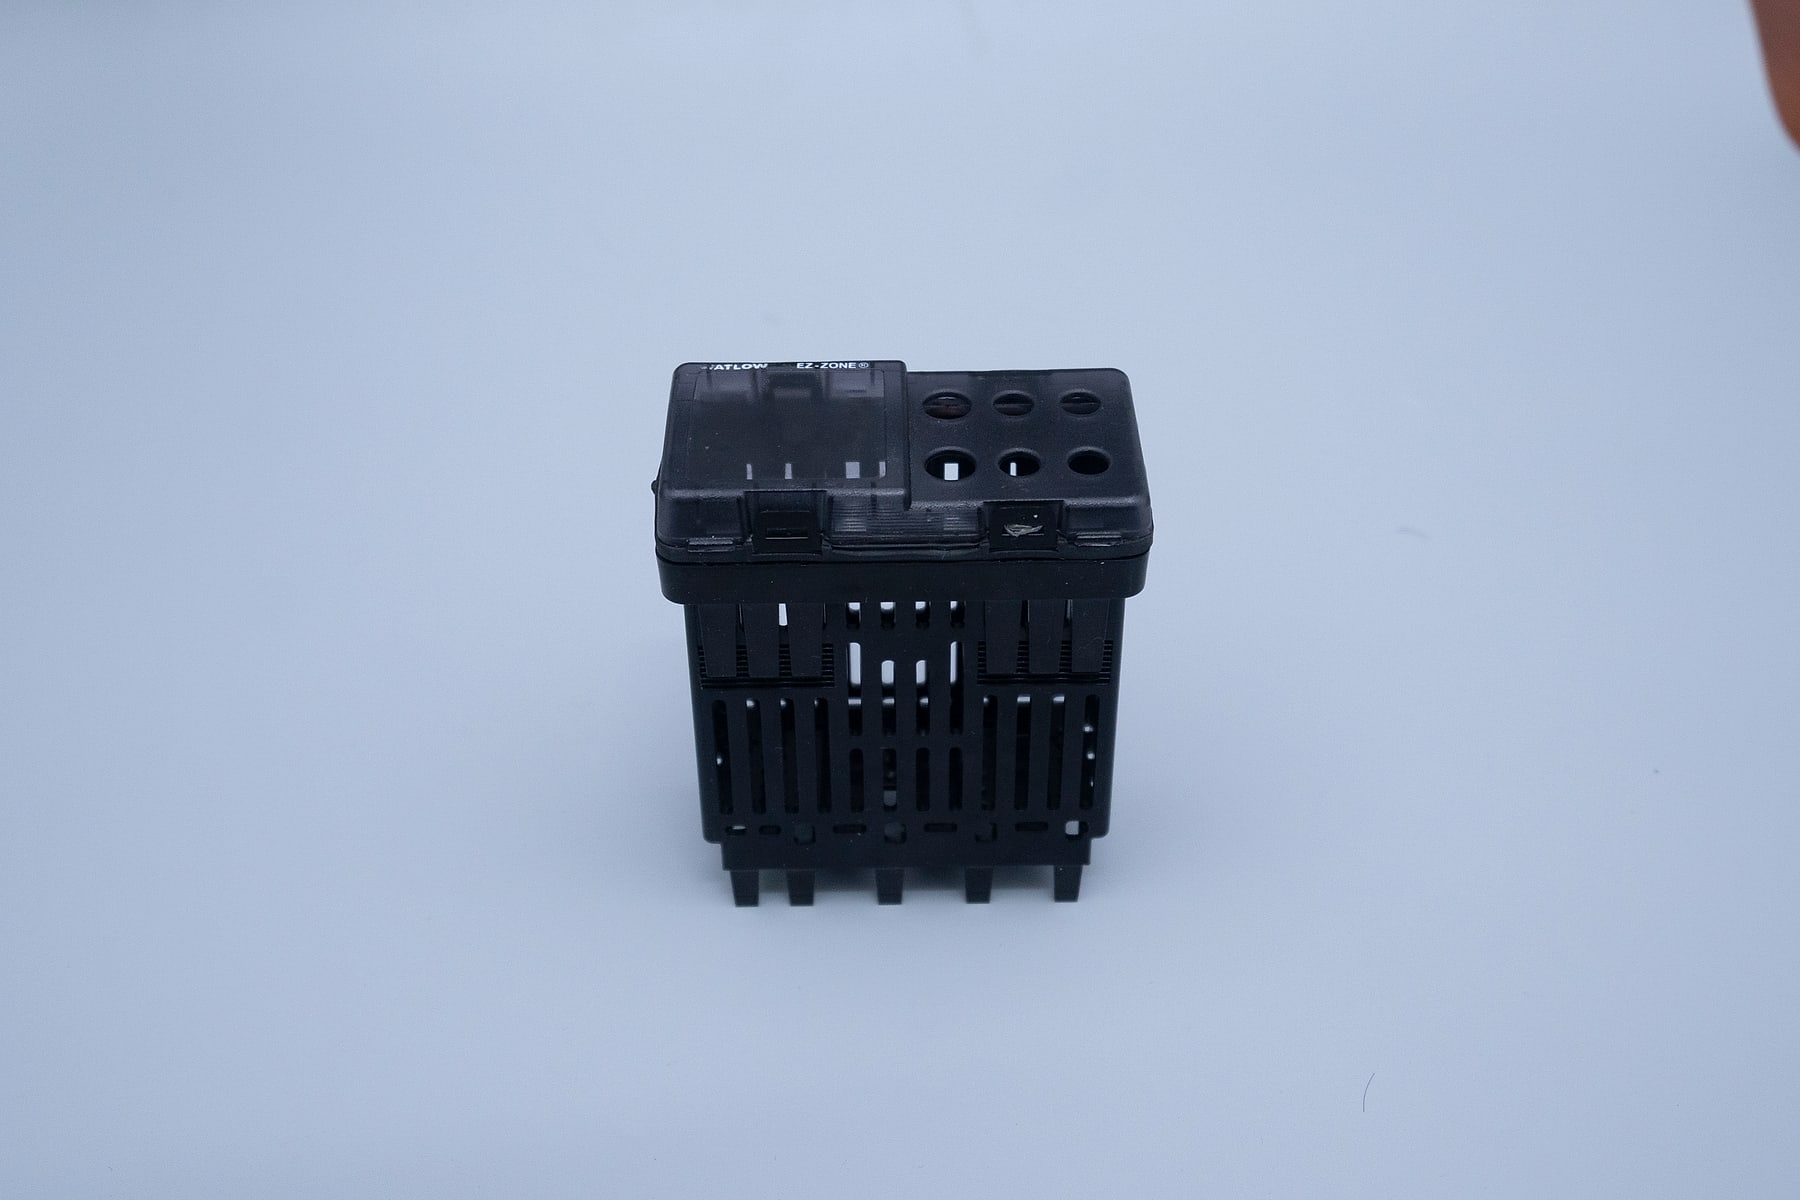
“No visible defects” sounds clear until a buyer and supplier inspect the same plastic housing under different lighting. A practical cosmetic specification explains which surfaces matter, how they will be viewed and what is acceptable. It should be discussed before the mould is manufactured, not added after the first trial.
Mark the surfaces the user actually sees
Start with an annotated drawing or assembly view. Identify the outside face, edges, openings and any inside surfaces visible through a transparent cover. Separate these from hidden faces unless the hidden surface has a specific functional requirement.
Use simple zone labels that both teams understand. These can be project-specific labels rather than a claim to a universal grading system. Explain how the component is held or installed when the customer sees it.
Provide a reference instead of only an adjective
Words such as “premium,” “smooth” or “high gloss” are useful intentions, but they leave room for interpretation. Provide the requested tool-finish reference where available, a colour target and a physical or approved visual sample. State which reference takes priority if they disagree.
| Element of the brief | Useful information |
|---|---|
| Surface zones | Annotated visible and restricted areas |
| Finish and colour | Finish reference, colour target and approved comparison sample |
| Permitted marks | Agreed gate, parting-line and ejector-contact locations |
| Viewing method | Lighting, distance, orientation and inspection duration |
| Approval record | Drawing revision, sample identity and any exceptions |
Review gate, parting-line and ejection locations
Resin must enter the cavity, the mould must separate and the part must be removed. Those requirements can leave process-related marks. Gate position and flow, ejection and part geometry therefore belong in the appearance discussion. A request to move a mark may affect other manufacturing priorities.
Mark the prohibited areas, explain why they matter and ask to review the proposed layout before machining begins. Distinguish an appearance restriction from an assembly restriction; a small mark on a hidden sealing or locating feature may still be important.
Treat transparent parts as a separate viewing task
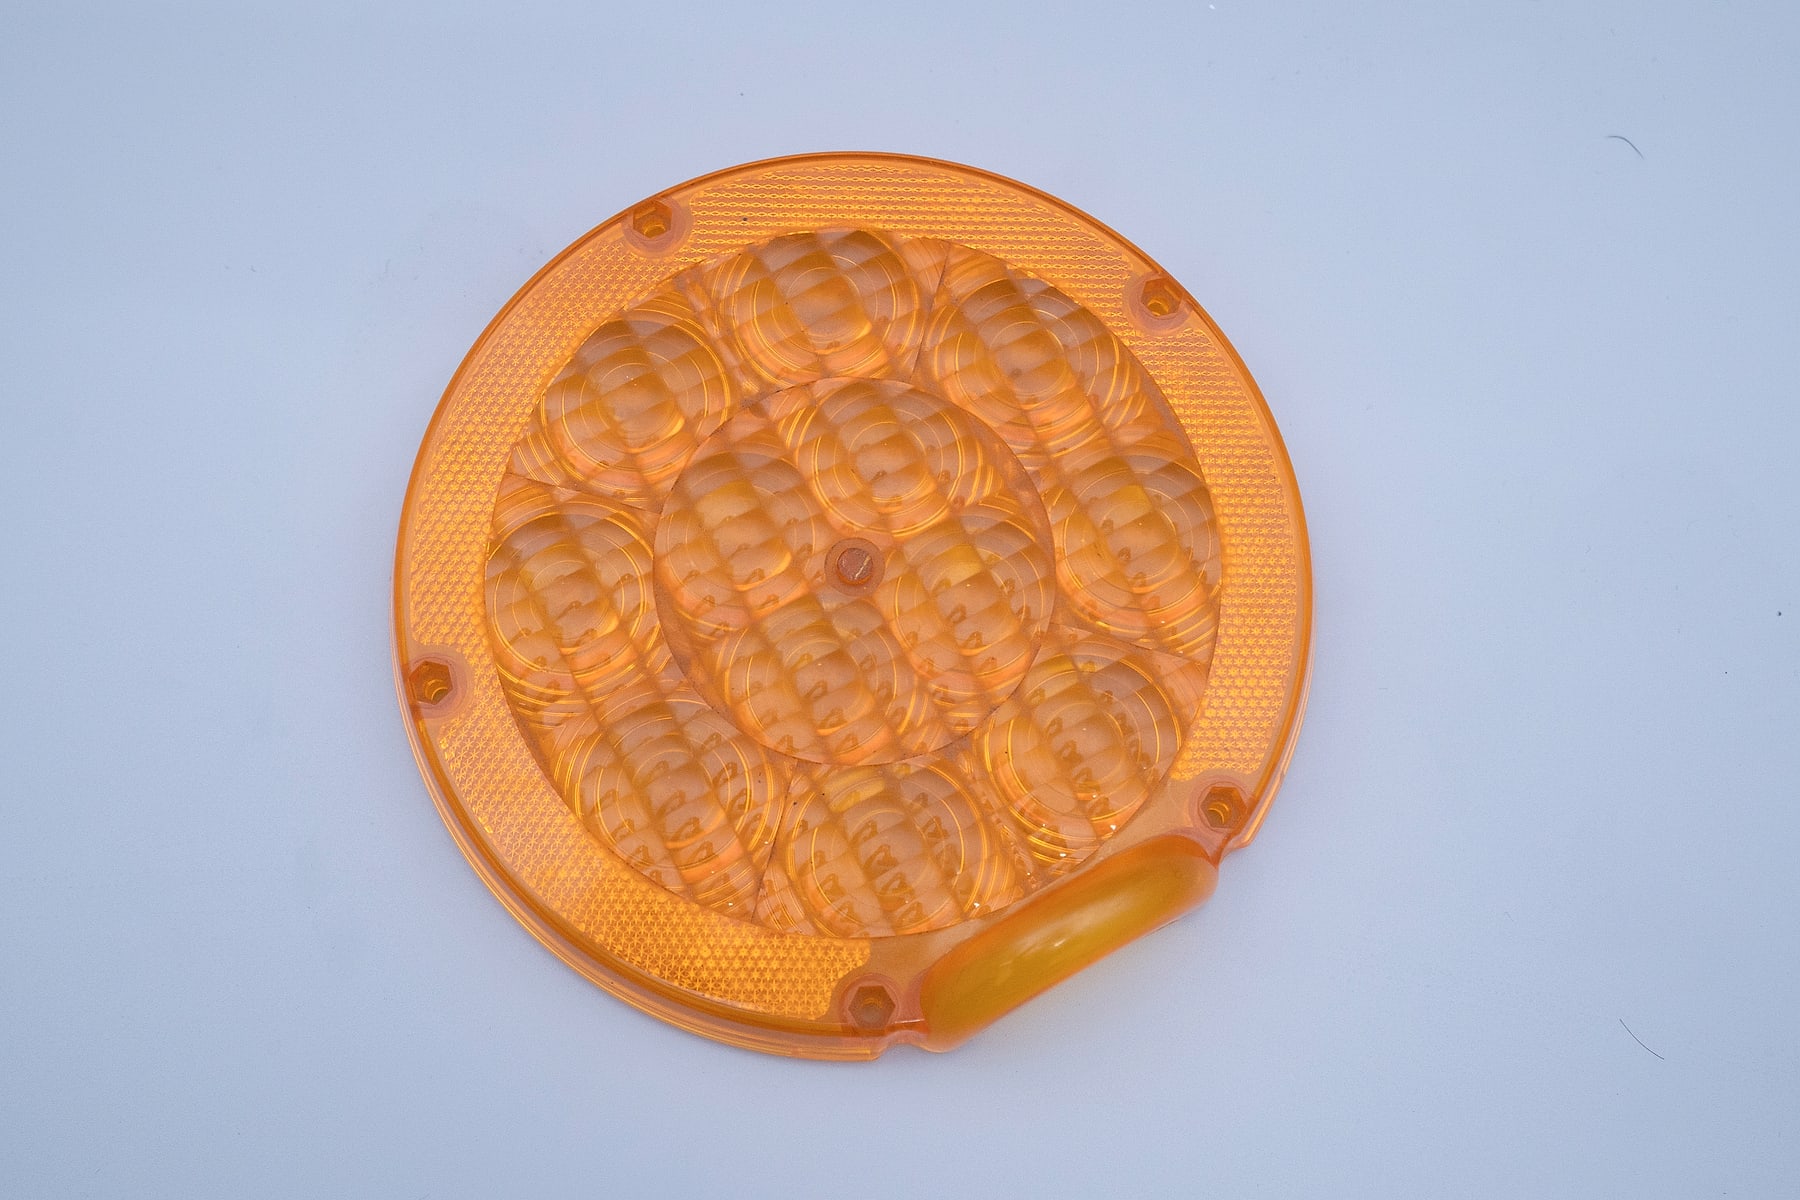
A transparent component can reveal features behind the surface as well as on it. Specify the background and orientation used for inspection and identify any window or optical area with a separate functional criterion. Do not assume that a cosmetic visual check proves optical performance.
If photographs are used for preliminary review, keep their lighting and framing consistent. Use them to identify the issue and its location, not as an unqualified replacement for the agreed physical-sample method.
Close the loop with an approval record
During trial review, connect every comment to a surface zone and a sample reference. State whether the result is accepted, rejected or temporarily accepted with a defined exception. Keep cosmetic approval separate from dimensional and functional approval where different people are responsible.
- Record the part number, revision, material and colour.
- Identify the inspected sample set and agreed comparison reference.
- Locate each observation on the drawing or a labelled photograph.
- Document any permitted mark, concession or required correction.
- Confirm whether another sample review is needed before production.
This brief helps avoid spending time on hidden features while an important visible face remains undefined. It also gives repeat orders a clearer reference than the memory of a first sample.
Common questions
Can gate and ejector marks be ignored until the first trial?
It is better to review proposed locations before tool manufacture, especially where visible surfaces or assembly interfaces are restricted.
Does a finish code define the complete visual acceptance standard?
No. Also agree colour, viewing conditions, permitted marks and reference samples. Appearance depends on the part, material and manufacturing process as well as the tool finish.
Should hidden and visible faces have the same cosmetic requirement?
Not automatically. Mark the surfaces according to their function and visibility so effort is focused where appearance or assembly actually matters.
Discuss your project with JingZhan
Send an annotated drawing, finish reference and a description of how the part is viewed in service. JingZhan can review the cosmetic and tooling priorities together.
See our prototyping, tooling and quotation guide or send an inquiry.
Technical reference: Protolabs guide to cosmetic appearance on moulded parts. Acceptance criteria must be agreed for the individual project.
Let’s Build Precision Moulds Together
Share your drawings, material requirements and target volume. Our team will review the project scope and the next practical step with you.